A hail or wind storm can do ten minutes of damage that takes months to sort out. Between the claim paperwork, the adjuster visit, and the estimate language, the process feels like a part-time job. We’ve guided a lot of Twin Cities homeowners through it, and it goes much smoother when you know the order of operations before you start. Here’s how it actually works.
In This Article
ToggleStep 1: Document everything before anything changes
As soon as it’s safe, take photos of visible damage: dented gutters, damaged screens, torn siding, shingles in the yard. Siding takes the same beating as the roof, so include it in the photos – we have a separate guide on what to check on siding after a hailstorm. Write down the date and approximate time of the storm. Your insurer will ask, and “sometime in July” is a weaker starting position than a specific date that matches weather records.
Step 2: Get a local inspection before you file
This step surprises people, but it matters. Filing a claim starts a clock and creates a record even if the claim is denied. Before you file, have a reputable local roofer inspect and tell you two things: whether the damage is real and storm-related, and whether it clearly exceeds your deductible. If the answer is no, an honest contractor will tell you not to file. If the answer is yes, you’ll file with photos and a professional assessment already in hand. We handle hail and wind damage inspections across the Twin Cities. If your insurer wrote about aging cedar rather than a recent storm, see our guide to what to do about a cedar shake roof insurance letter.
Step 3: File the claim
Call your insurance company or file online. Have your policy number, the storm date, and a plain factual description ready. Stick to what you know: “Hail storm on June 12, dented gutters and damaged screens, roofer found shingle damage on all slopes.” Don’t speculate about causes or dollar amounts. The insurer will assign a claim number and schedule an adjuster visit.
Step 4: The adjuster meeting
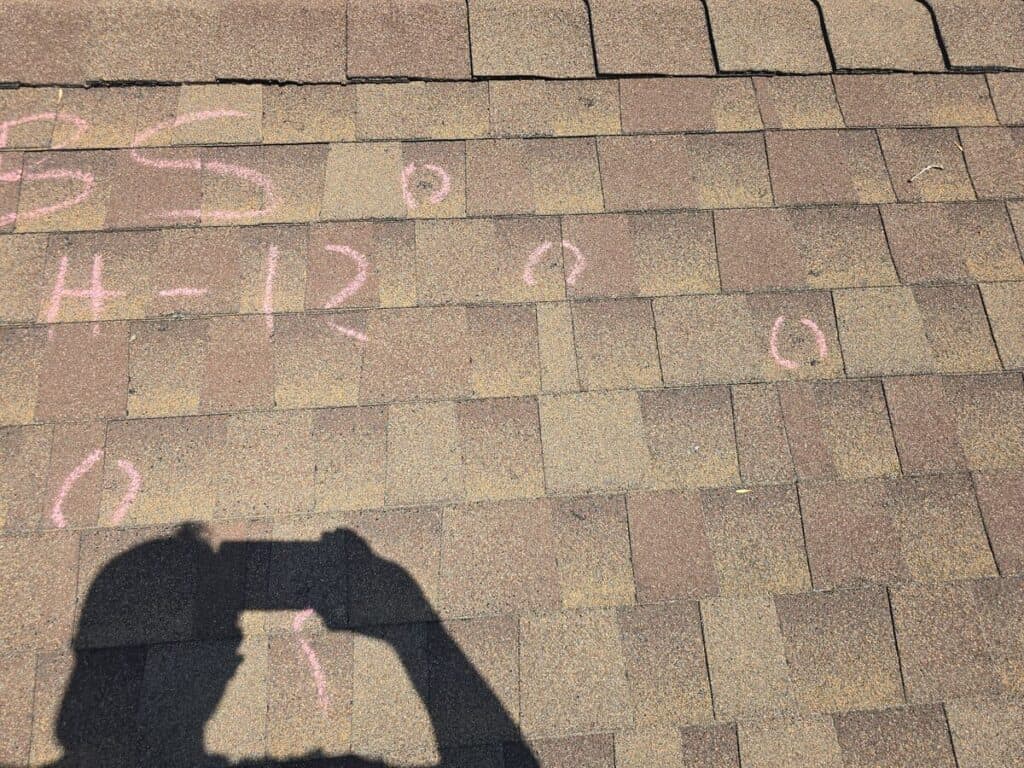
Have your contractor there. This is the single most valuable thing you can do for your claim. Adjusters are often running several inspections a day, especially after a big metro-wide storm, and it’s easy to miss a slope, a soft-metal elevation, or damaged vents. When we’re on the roof with the adjuster, we walk the whole thing together, mark test squares, and make sure every damaged item gets documented the first time. It keeps the claim accurate and saves everyone a second visit.
Step 5: Read the estimate: ACV, RCV, and depreciation
Your settlement paperwork will use one of two valuation methods:
- Replacement Cost Value (RCV) pays what it actually costs to replace the roof today. The insurer typically pays the Actual Cash Value portion up front, holds back the rest as “recoverable depreciation,” and releases it when the work is complete and invoiced.
- Actual Cash Value (ACV) pays the depreciated value only. What you get is what you get, and the gap between that and the real cost of a new roof comes out of your pocket.
Know which policy you have before the storm, not after. It changes the math on everything. For the bigger question of when a policy pays for a whole new roof, read does insurance cover roof replacement in Minnesota.
Step 6: Expect supplements, they’re normal
The initial insurance estimate is rarely the final number. Code-required items are the classic example: Minnesota code requires ice-and-water protection at the eaves, and that line item gets missed on first-pass estimates all the time. Damaged decking, flashing, and ventilation corrections show up once the old roof comes off too. Your contractor submits these as supplements with photos and code references. It’s a routine part of the process, not a fight.
Mistakes that cost homeowners money
- Signing with the first door-knocker. After a big storm, out-of-state crews blanket the metro. Some do fine work; many are gone by the time a workmanship issue shows up. Verify a Minnesota license and a real local presence.
- Anyone offering to cover your deductible. “We’ll eat your deductible” or “we’ll rebate you after the job” is insurance fraud, full stop. Walk away from any contractor who offers it.
- Letting the claim expire. Most policies give you a window, often one to two years, to complete repairs and recover your depreciation. Check yours and put the deadline on a calendar.
- Choosing the cheapest bid. On an insurance job the price is largely set by the claim. The variable isn’t cost, it’s quality of materials and workmanship. Pick the contractor, not the coupon.
You don’t have to run this alone
A good storm restoration contractor does more than roofing. We inspect, document, meet your adjuster, review the estimate for missed items, and handle supplements, then we build the roof the way we’d build it on our own house.
Storm damage and not sure where to start? Call First Impressions Exteriors at 763-762-8934. We’ll inspect first and tell you honestly whether a claim makes sense. Serving the entire Twin Cities metro.